My mom found out about this, and started to pick me up embroidery floss when she went to garage sales. I soon had an enormous amount of colors. I tried the little book ends with the bags in the middle, but it was just too complicated to try and find the color I needed. So, I came up with a solution to my problem; a large box!
However, just tossing all the colors in the box made an even bigger mess! So, I devised a way to organize the colors in numerical order. I figure that maybe others might have the same problem, so I thought I'd share my box design!
Supplies needed are:
A box (I used a collapsible one I found in the school supply area)
4 wire hangers
Wire cutters
X-Acto knife
Cardboard/something heavy duty
Embroidery Floss bags (Found at craft store)
Floss numbers (All of my floss is DMC, so I grabbed a number list from the craft store)
Embroidery Floss
1. Prepare the box.

This box is about 15.5" by 11.5". It came in a set of three, with this being the largest.
2. The hangers.
I cut the hangers at the bottom, right before the curve. I then took the pliers and turned the ends in.
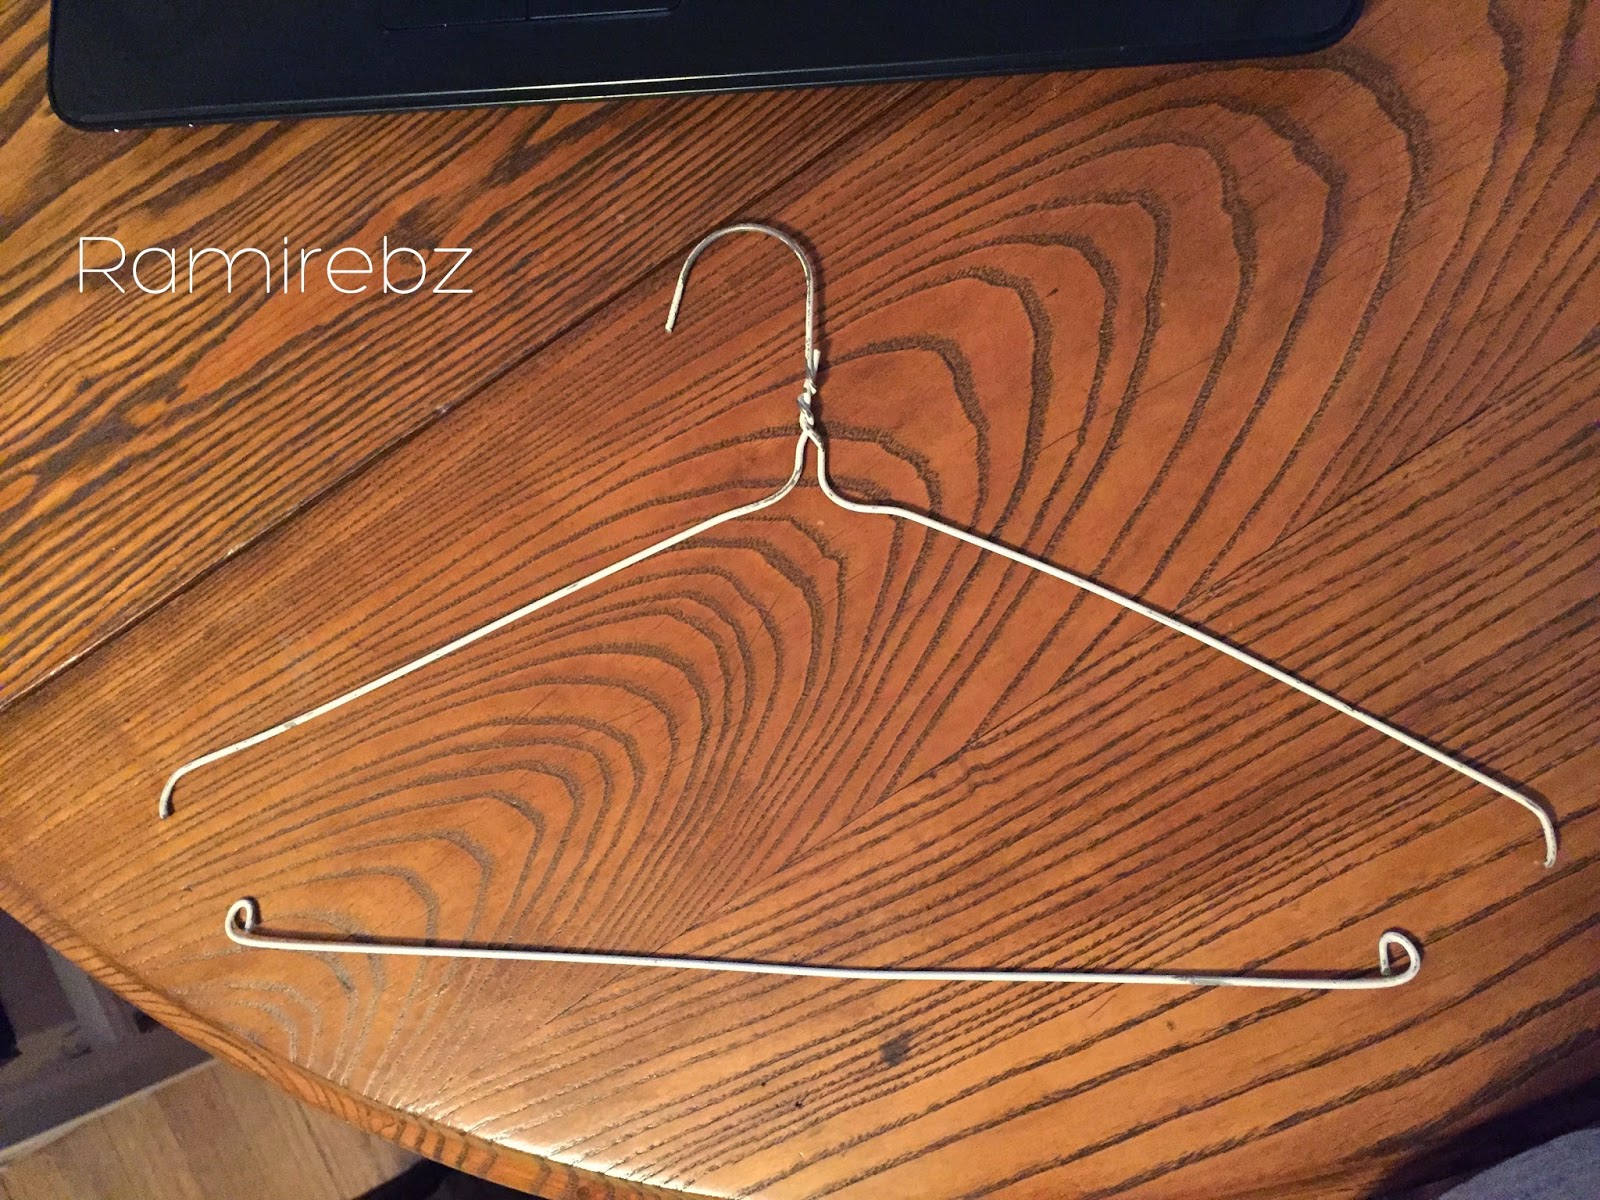

You now have your guides for the bags! Set them aside for now.
3. Cardboard.
I had an extra lid laying around (who knows what happened to the base) so I used it to make my center line.


I measured the box, and then added about an inch and a half to it to be able to fold over a bit.
I measured the cardboard, and carefully cut it out with the X-Acto knife. I measured the 3/4" on each end and bent them in.


I used packing tape to place it in the box. It's sturdy enough that it won't move, but pliable enough that I can work around it to get to the thread.

4. The fun part: Putting the colors in the bags.

I labeled each bag with the corresponding number, and put the floss in its new home.

5. Adding the bags to the guides.
I decided to put some tape around one end of the wires, so that the bags wouldn't try and slide off the other end as I was putting them on.

The bags have two holes on the bottom, so that is why you need two wires per set. I put the bags in numerical order, and slid them onto the wires.

Once you get them all on the guides, it should look something like this:
From the top

From the bottom

Put them in the box, and you now have an easy way to get to your floss!

I hope you liked my tutorial! Thanks for stopping by!
I already have my floss in these bags on a ring but I don't love it. I've been looking for another way to organize and like your solution. especially because it doesn't require much investment. Thanks!
ReplyDeleteNice inexpensive solution. I just have each numbered floss in a ziplock bag with and index card so I can see the numbers correctly. At the present time I have 3 large sneaker boxes full. Oh my!
ReplyDelete