Saturday, March 21, 2015

Embroidery Floss, Anyone?

My freshman year of college, I decided that I needed something crafty to do. Crochet and Knitting looked too complicated, so I decided to try Cross Stitching. So, I self-taught myself with a few simple Christmas ornaments for my family. It was a success, and so began my love of all things Cross Stitch.

My mom found out about this, and started to pick me up embroidery floss when she went to garage sales.  I soon had an enormous amount of colors.  I tried the little book ends with the bags in the middle, but it was just too complicated to try and find the color I needed.  So, I came up with a solution to my problem; a large box!

However, just tossing all the colors in the box made an even bigger mess!  So, I devised a way to organize the colors in numerical order.  I figure that maybe others might have the same problem, so I thought I'd share my box design!


Supplies needed are:

A box (I used a collapsible one I found in the school supply area)
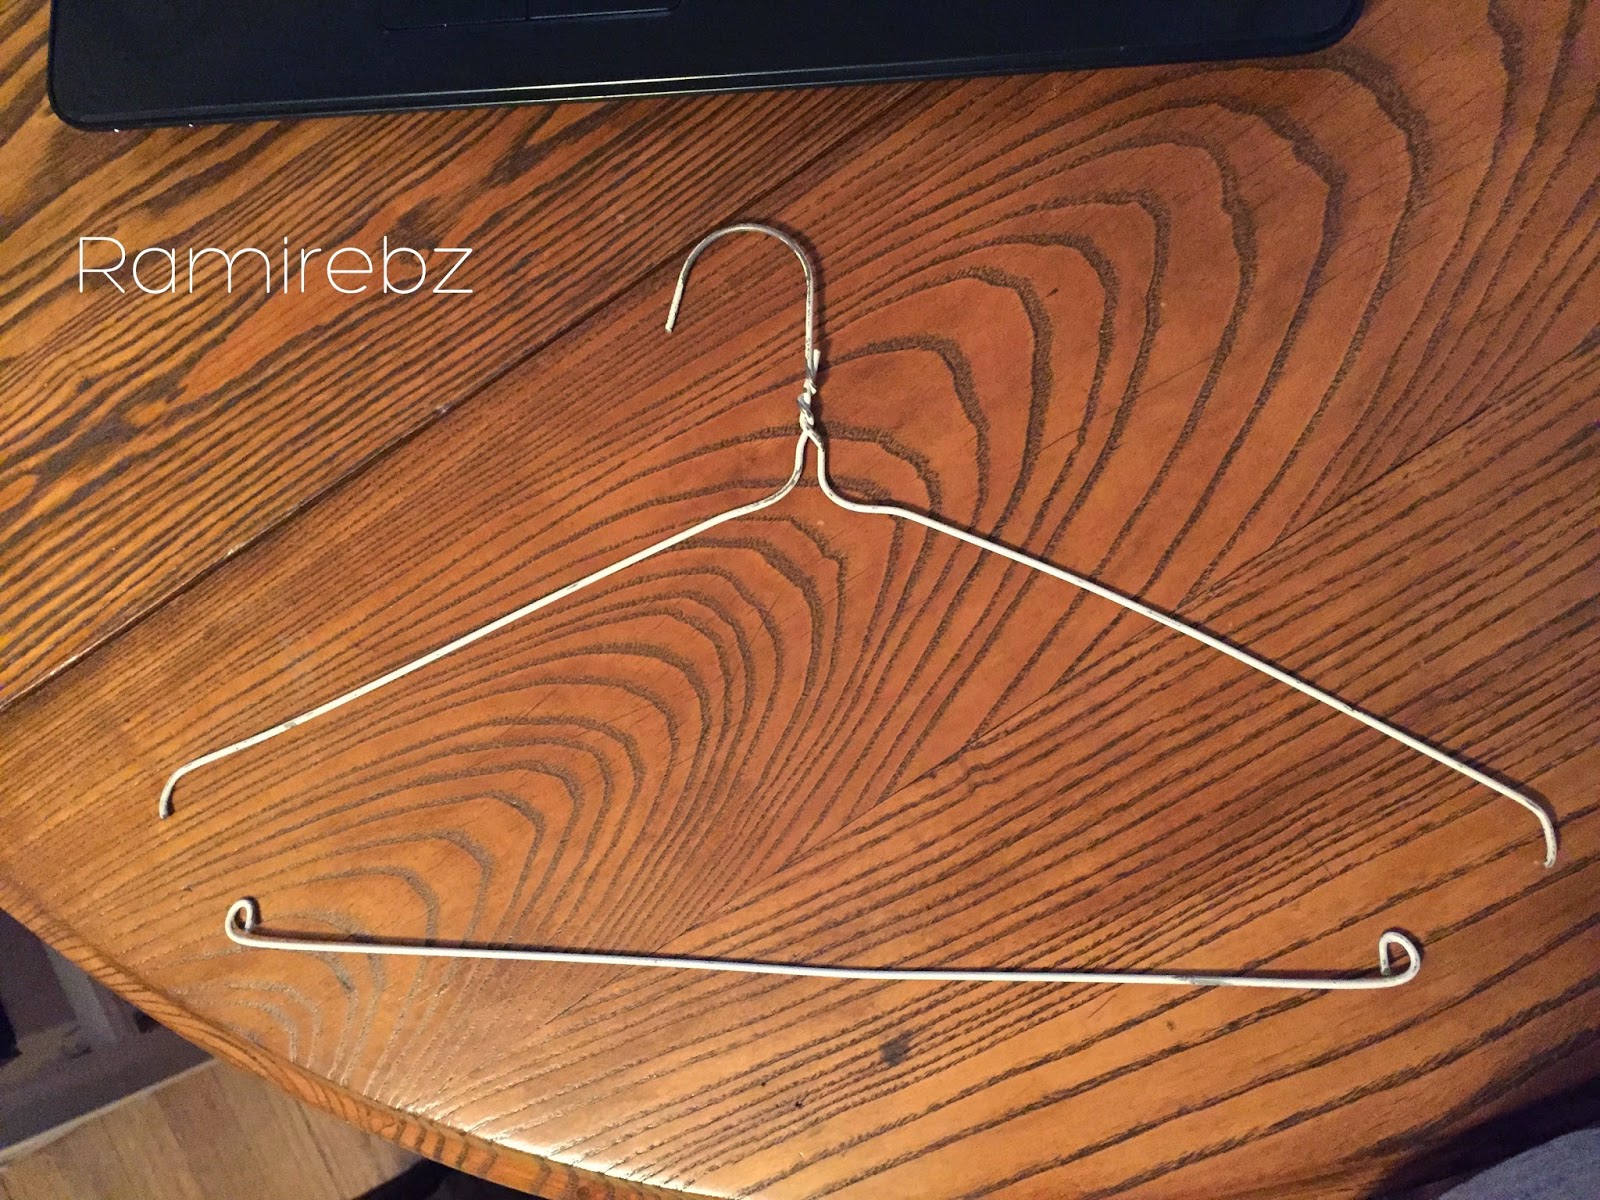
4 wire hangers
Wire cutters
X-Acto knife
Cardboard/something heavy duty
Embroidery Floss bags (Found at craft store)
Floss numbers (All of my floss is DMC, so I grabbed a number list from the craft store)
Embroidery Floss


1.  Prepare the box.


This box is about 15.5" by 11.5".  It came in a set of three, with this being the largest.


2. The hangers.

I cut the hangers at the bottom, right before the curve.  I then took the pliers and turned the ends in. 


You now have your guides for the bags!  Set them aside for now.


3.  Cardboard.

I had an extra lid laying around (who knows what happened to the base) so I used it to make my center line.


I measured the box, and then added about an inch and a half to it to be able to fold over a bit. 


I measured the cardboard, and carefully cut it out with the X-Acto knife.  I measured the 3/4" on each end and bent them in.


I used packing tape to place it in the box.  It's sturdy enough that it won't move, but pliable enough that I can work around it to get to the thread.


4.  The fun part: Putting the colors in the bags.


I labeled each bag with the corresponding number, and put the floss in its new home.  


It took awhile, but I got them all done!  Sadly, this is only half of the bags I have.  Some bags have multiple skeins it it, too!  Oi, vey.  I have a lot of floss. 


5. Adding the bags to the guides.

I decided to put some tape around one end of the wires, so that the bags wouldn't try and slide off the other end as I was putting them on.


The bags have two holes on the bottom, so that is why you need two wires per set.  I put the bags in numerical order, and slid them onto the wires.  


Once you get them all on the guides, it should look something like this:


From the top


From the bottom


Put them in the box, and you now have an easy way to get to your floss!


I hope you liked my tutorial!  Thanks for stopping by!

Wednesday, April 23, 2014

BenjaMan!


A few weeks ago, I got a Facebook message from a friend, asking me to create a bracelet for her.  I got really excited, because this wasn't just any bracelet...

Casi, my friend, has two beautiful little boys, Ethan and Ben.  In March, 2013, Ben, just 4 years old, was diagnosed with Pre-B Acute Lymphoblast Leukemia. It's been a long, hard year, but this awesome family has pulled through.


Isn't he adorable?!

So, when I got the message from Casi, asking me to create an awareness bracelet, I felt so honored.  She wanted something that was small, something that she could wear everyday.  Pediatric cancer's color is Gold, so I set out to make a bracelet!


This is what I ended up with, and she loved it!  I'm pretty proud of it, too.  Simple, but packed with a whole lot of meaning.  So, this all being said, I've decided to name this bracelet the BenjaMan Awareness Bracelet. Casi said she told some other moms about this, so if any of you would be interested in one, please Facebook me (Bonnie Ramirez) or email me (ramirebz@gmail.com)!  

If you would like to stay informed about Ben and his fight, you should follow his Facebook page: 

Tuscany


I couldn't find a background to make the colors really pop, but I love this set!  Turquoise and different shades of brown, this is a beautiful set.

Tuscany
Set is $20.00


Sunday, March 16, 2014

Crispy

These are about 1.5 inches long.

Crispy
$9.00


Lovegood

Tiny, but powerful.  1 inch long.

Lovegood
$7.00


Bubble-licious

About 1 inch long.

Bubble-licious
$8.00


Grapesicle

Simple, but elegant.  1.5 inches long

Grapesicle
$9.00


Glamour


Another design I found on Pinterest.  These are just too fancy!  Love them.  1.5 inches.

Glamour
$12.00


Secret Garden

 I really like these.  They remind me of Spring, and just seem really free and flirty.  About 2 inches long.

Secret Garden
$10.00


Cubonics

These are about 1 inch long.

Cubonics
$8.00


Buttered Mellow


Simple but cute! 1 inch long

Buttered Mellow

$6.00


Sanoma


I was trying to figure something to do with the turquoise, and came up with these.  I love them!  They are 
2.5 inches long.

Sanoma

$10.00


Pomegranite


I've always liked the tiered look.  These measure in at 2.5 inches.

Pomegranite

$9.00


Granny Smith Apples


I thought these were fun and simple.  

1/2 inch long.

Granny Smith Apples
$7.00


Wednesday, March 12, 2014

Sorting Hat


It is not a secret to anyone who knows me...I'm a Harry Potter nerd.  So, it was inevitable that I would make some kind of earrings to represent my extreme love for Potter.


Each pair is approximately 1.5 inches long.
$8.00 each